Popcorn ceilings, also known as cottage cheese ceilings, were a popular trend in the 20th century. Today, many homeowners are opting to paint them for both aesthetic and practical purposes. While painting a popcorn ceiling can present certain challenges, with the right knowledge, tools, and techniques, it can be an enriching DIY project. This detailed guide will take you through the process of how to paint a popcorn ceiling.
Understanding What is a Popcorn Ceiling
Before getting into the how-to guide, it is important to know what a popcorn ceiling entails. Popcorn ceiling, scientifically known as stipple ceiling, is a ceiling that has a bumpy texture resembling popcorn or cottage cheese. It was a popular design technique in the mid-20th century, notorious for its ability to hide imperfections and provide acoustic isolation.
Despite its practical benefits, many homeowners today opt to paint it, primarily to update the ceiling's look to better match modern home design styles.
Materials You'll Need to Paint a Popcorn Ceiling
Before you start painting your popcorn ceiling, it's vital that you have all the necessary materials in hand. These include, but are not limited to:
- High-quality ceiling paint
- Paint roller with an extended handle
- Angled paint brush for edges
- Plastic drop cloths
- Painter's tape
- Protective gear (goggles, gloves, and mask)
Preparation is Key
Protect Room Elements and Furniture
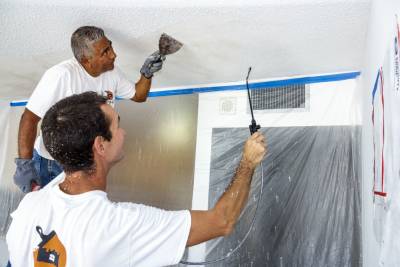
The first step in painting a popcorn ceiling involves preparing your room. Popcorn texture can easily flake off, making the entire process messy. To prevent this, it's important to protect your room elements and furniture by covering them with plastic drop cloths and applying painter's tape around the edges of your ceiling, on your walls, and around light fixtures.
Check for Asbestos
If your house was built before 1980, there's a chance that your popcorn ceiling contains asbestos. Before painting, have your ceiling tested. If asbestos is present, do not attempt to paint or remove the popcorn ceiling yourself; hire a professional asbestos abatement company.
Select the Right Paint
For a popcorn ceiling, an acrylic-based paint, preferably in a flat finish, is recommended. It has high elasticity, which allows it to stretch over the textured surface without causing cracks or flaking. Choosing a flat finish helps to create a non-reflective appearance, which is ideal for hiding any remaining imperfections.
Apply the Paint Carefully
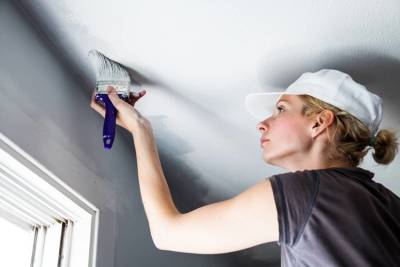
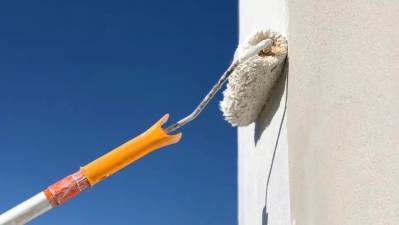
When it comes to applying the paint, use a paint roller with a long handle. This tool allows you to reach the ceiling easily while applying the paint evenly across the textured surface. Avoid applying too much pressure as it can pull off the popcorn texture. A light touch, multiple coats, and patience are key here.
Paint Edges with an Angled Brush
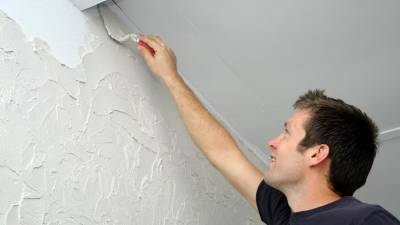
Regular rollers won't suffice for painting the edges of your popcorn ceiling. Here, an angled brush will come handy. An angled brush allows precision and helps reach corners without accidentally painting the walls.
Points to Remember
- Ensure you're wearing protective gear at all times as paint might splatter and popcorn texture may flake off.
- Allow the paint to dry for at least 24 hours before removing the drop cloths and painter's tape.
- Consider using spotlights or a work lamp to ensure good lighting so that you don't miss any spots.
Painting a popcorn ceiling can indeed be a challenging task. However, with the right preparation, materials, and technique, you can successfully transform your dated popcorn ceiling into a modern-tier home feature. The key is to take your time, follow the steps carefully, and ensure you're using the right paint for the job. By doing so, you'll ensure a smooth painting process and stunning results that will refresh your home's overall aesthetic.
FAQs on How to Paint a Popcorn Ceiling
Why might I want to paint my popcorn ceiling?
Popcorn ceilings can become dingy or discolored over time, especially if they are in rooms where there is high humidity or smoke. Painting your popcorn ceiling can freshen up the room and make it look cleaner and brighter.
What supplies do I need to paint a popcorn ceiling?
To paint a popcorn ceiling, you will need a paint roller with an extension pole, a paint brush for any tight corners or edges, protective sheets or tarps to cover your furnishings, painter's tape, a step ladder, and of course, your chosen paint.
What type of paint should I use for a popcorn ceiling?
Flat, latex-based paint is typically the best choice for popcorn ceilings. It can conceal any imperfections and doesn’t reflect light as much as other paint types, which helps to hide any inconsistencies in the texture of the ceiling.
Can I just paint over a popcorn ceiling as is?
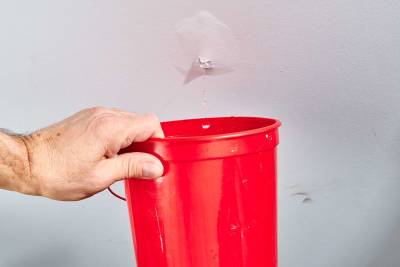
Before painting, check the popcorn ceiling for any water stains or damage. If you find any, you may need to repair the ceiling before you begin to paint. Also, keep in mind that popcorn ceilings installed before 1980 might contain asbestos, and it’s recommended to test the ceiling for it before beginning any work.
What steps should I follow to paint a popcorn ceiling?
First, protect your furniture by covering it with drop cloths or tarps. Mask the walls and any light fixtures with painter's tape. Cut in around the edges of the ceiling with a paintbrush to ensure a uniform look. Then, use a roller attached to an extension pole to apply the paint on the main area of the ceiling. Ensure you roll in one direction to avoid dislodging the popcorn texture.
How many coats of paint do popcorn ceilings usually need?
Most popcorn ceilings will need at least two coats of paint. The porous and uneven texture of popcorn ceilings tends to absorb more paint, so a second coat ensures that the color is bright and even.
What should I do if the paint is causing the popcorn texture to peel off?
If the paint causes the popcorn texture to peel off, you should use a spray-on primer or sealer before painting. This will help to bind the texture to the ceiling and can prevent it from peeling under the weight of the paint.
What precautions should I take when painting a popcorn ceiling?
Firstly, avoid overly saturating the roller as popcorn ceilings can absorb a lot of paint that can cause the texture to become heavy and possibly peel. Also, remember to wear protective clothing, specifically eye protection, because bits of the popcorn texture may flake off while painting.
Should I hire a professional to paint my popcorn ceiling?
While it’s certainly possible to paint popcorn ceiling by yourself, hiring a professional can save you a lot of time and effort, and will ensure the job is done properly. This is especially the case if the ceiling contains asbestos, since removing or disturbing asbestos can be extremely hazardous.
Pros & Cons of How to Paint Popcorn Ceiling
Pros of Painting Popcorn Ceiling
Improving Aesthetics
- Paint can freshen up the look of an outdated popcorn ceiling. Whether you choose a light, neutral color or a dramatic dark shade, a fresh coat of paint can make a significant difference to the overall aesthetics of the room.
- Provided quality paint is used, your ceiling can have a polished and professional look.
- It can also help in camouflaging any stains or discolorations on your popcorn ceiling.
Cost-effective
- Painting a popcorn ceiling is a cost-effective way to change the look of your room as it requires less investment compared to removing and replacing the popcorn ceiling.
- It saves up on hefty professional removal costs as most of the painting can be done as a DIY project.
Time Saving
- Painting is less time-consuming than removing a popcorn ceiling. The removal process can take several days, whereas painting can be completed in just a few hours or a day.
- The room's usability is restored much faster after painting than it would be following a removal process.
Cons of Painting Popcorn Ceiling
Difficult Process
- Learning how to paint popcorn ceiling can be a challenging task. The texture can make the painting process complex and time-consuming.
- Since popcorn ceilings are bumpy, it is hard to achieve a uniform, consistent layer of paint.
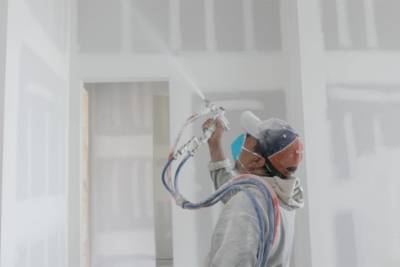
- Spray painting might be easier, but it requires more precautions, such as covering all furniture and walls to protect from paint splatters.
Problems with old popcorn ceilings
- Older popcorn ceilings (pre-1980s) might contain asbestos, which is harmful when inhaled. If you disturb the ceiling by painting it, you risk releasing these particles into your home environment.
- Any physical interaction, such as the use of rollers or brushes, may result in the popcorn texture peeling off from the ceiling, creating an unappealing look.
- While painting over stains may work temporarily, over time, these might seep through the paint, requiring additional coats or professional help.
Difficult to repair
- Once painted, popcorn ceilings can be challenging to repair. Any required patchwork will stand out against the painted surface, leading to visible inconsistencies.
- When it comes to repainting, peeling off the old paint from a popcorn ceiling is more challenging than it sounds, often leading to a messy job.
Limitations in design
- Popcorn texture can limit your design choices as not all types of paint or colors may look good on them. While light colors can highlight bumps and imperfections, darker shades can make the room look smaller.
- Since textured surface typically requires more paint, if you decide to switch colors, more coats might be required, increasing the cost and time spent.
Summary
No worries if you're a novice, with consistent practice and patient application, you certainly can master how to paint popcorn ceiling. Just remember, the real trick lies in using the right tools, preparing the surface properly, and taking your time to apply the paint effectively without damaging the ceiling texture. So go ahead, summon your inner Picasso and confidently put those brush strokes on your ceiling!
You've now learned how to paint popcorn ceiling, a skill that can transform your living space with an added touch of elegance and freshness. Above all, it's an opportunity to make your mark while saving some cash instead of hiring a professional. So, roll up your sleeves and get painting. Upgrade your home decor and bask in the satisfaction of a job well done.
Following the how to paint popcorn ceiling guide, you can turn an otherwise daunting task into an achievable DIY project. With your newfound knowledge, don't worry about those ceilings anymore. Instead, focus on choosing the right color to improve your room atmosphere. A new popcorn ceiling paint can make your room brighter, cozier, or more spacious - so it's time to get to work and let the transformation begin!
About Atlas Stucco
Welcome to Atlas Stucco, your trusted partner for all things stucco in Sacramento, CA! Our team is dedicated to bringing your vision to life with high-quality stucco installation, repair, and maintenance services. Whether it's a simple patch job or a total home transformation, we treat every project with the same commitment to excellence. Drawing from years of experience in the industry, we combine technical expertise with an artistic touch to give your home or business a unique, lasting finish. We look forward to serving you at Atlas Stucco!
Tags: popcorn ceiling, painting tips, DIY,
